Pay To Download
Configure Show Prices and Show Price Searches for use with Pay to Download on your Internet Channel. This screen has two tabs with separate settings and tools.
Show Prices
Use Show Prices to connect Stripe prices (test and live) to human-friendly labels that you’ll later attach to saved show searches.
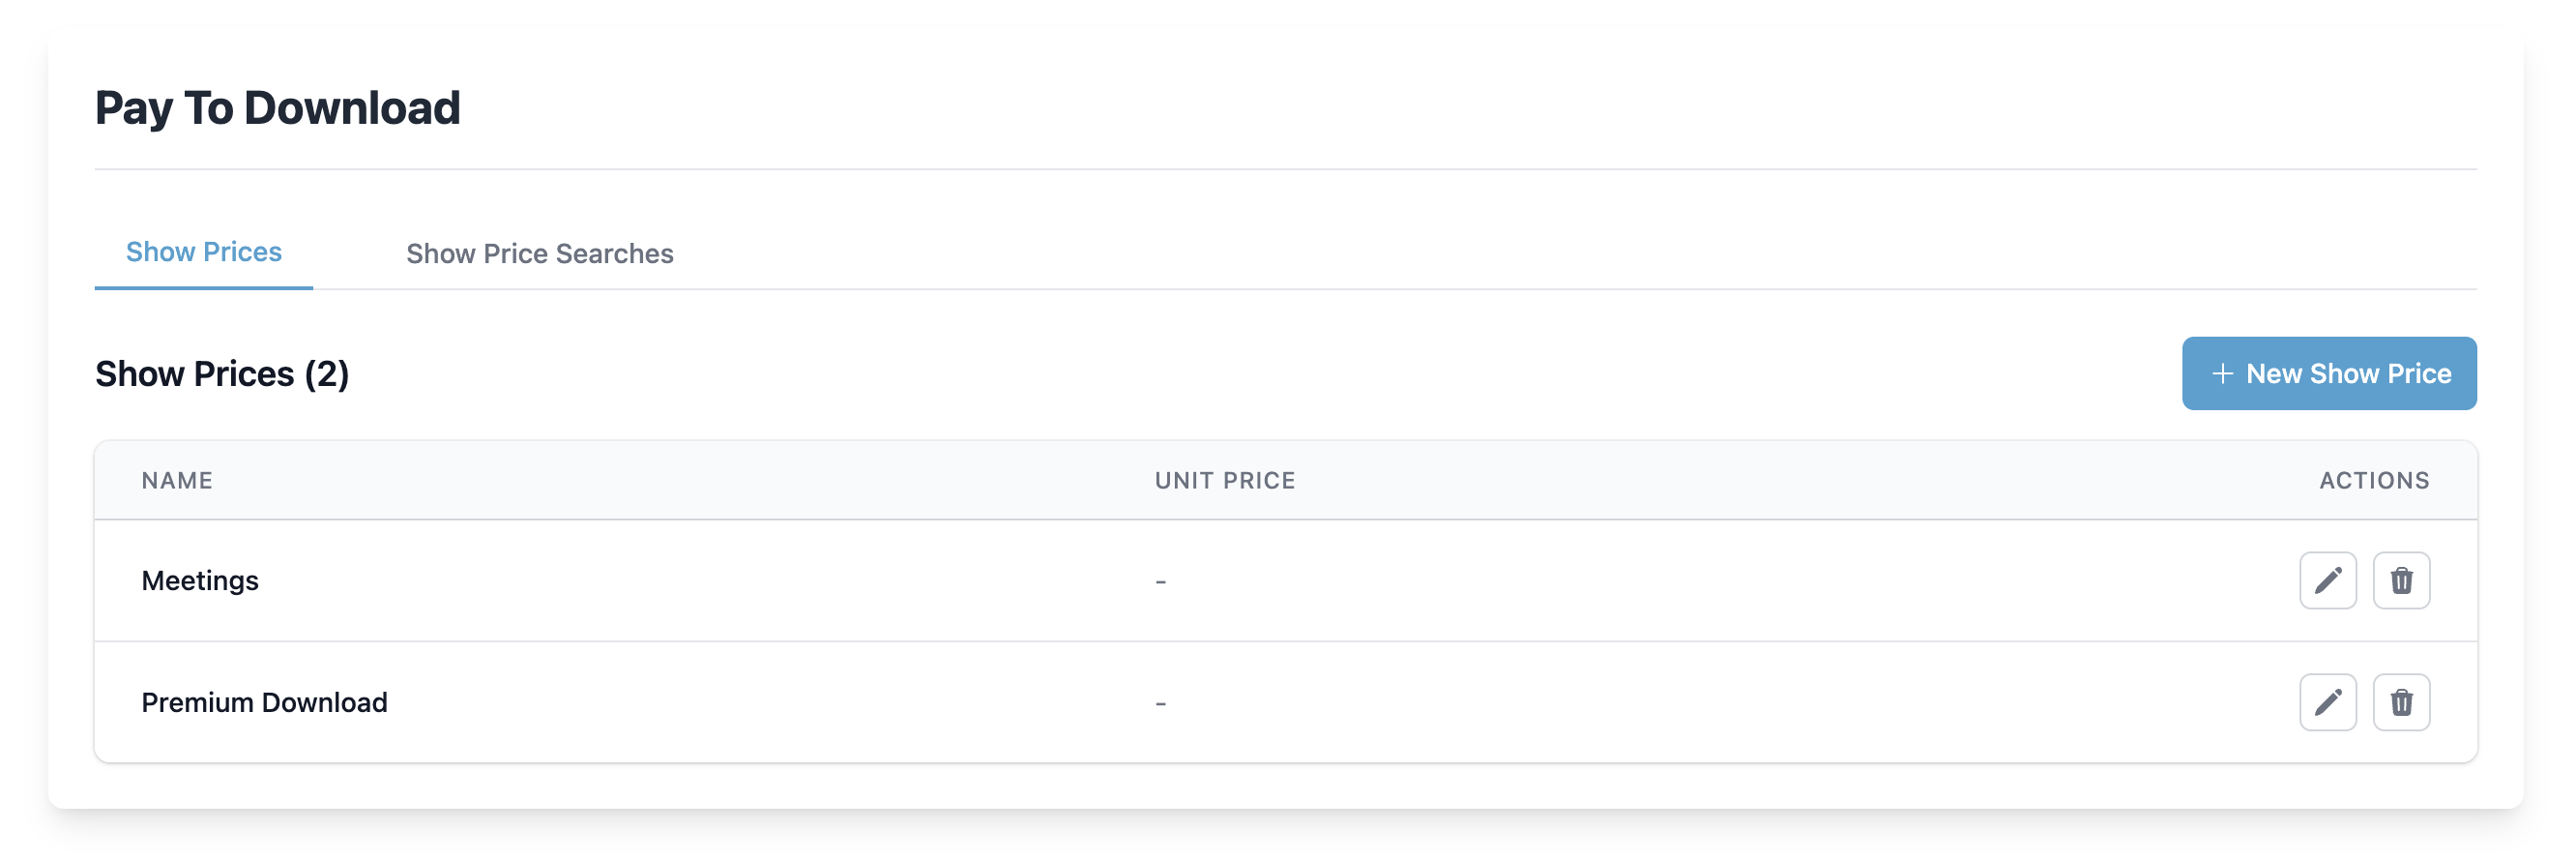
Show Prices Table
The table lists all configured prices.
- Name — A label used throughout Cablecast (e.g., “Premium Download”, “Meetings”).
- Unit Price — Displays the current amount when it can be read from Stripe.
- Actions — Edit or delete the price.
Additional controls:
- New Show Price — Create a new price entry.
Create Show Price
Click New Show Price.
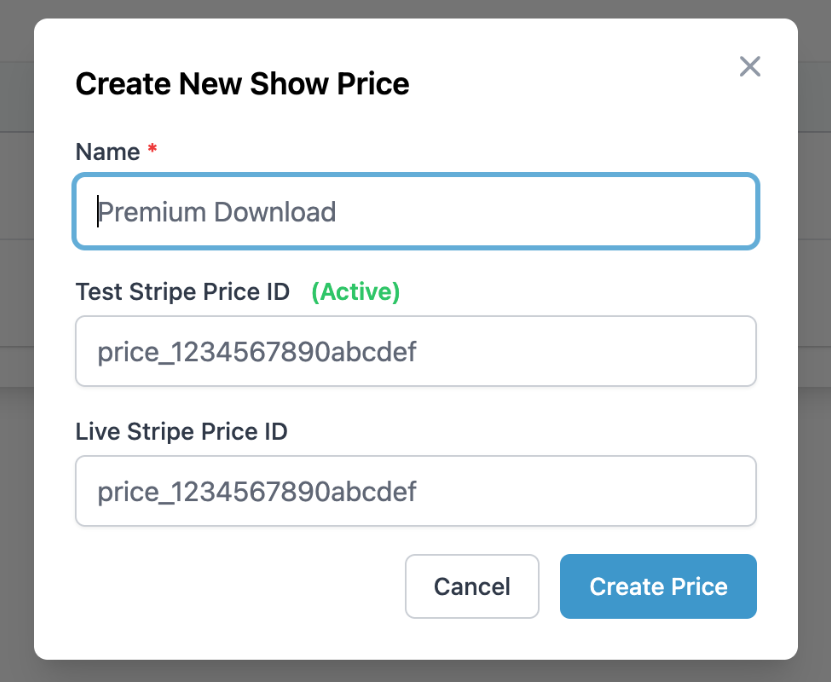
Fill in:
- Name — Friendly name for this price (shown to staff in Cablecast).
- Test Stripe Price ID — The Stripe price_… identifier in your Test environment.
- Live Stripe Price ID — The Stripe price_… identifier in your Live environment.
Tip: You create Price objects in Stripe. Paste the IDs here to link them to Cablecast. Use Test while validating, then add Live when you’re ready to charge real cards.
Click Create Price to save.
Edit or Delete a Price
- Edit — Update the name or either Stripe Price ID.
- Delete — Removes the price.
Show Price Searches
Show Price Searches tie a saved show search (the content being offered for download) to a Show Price (what it costs).
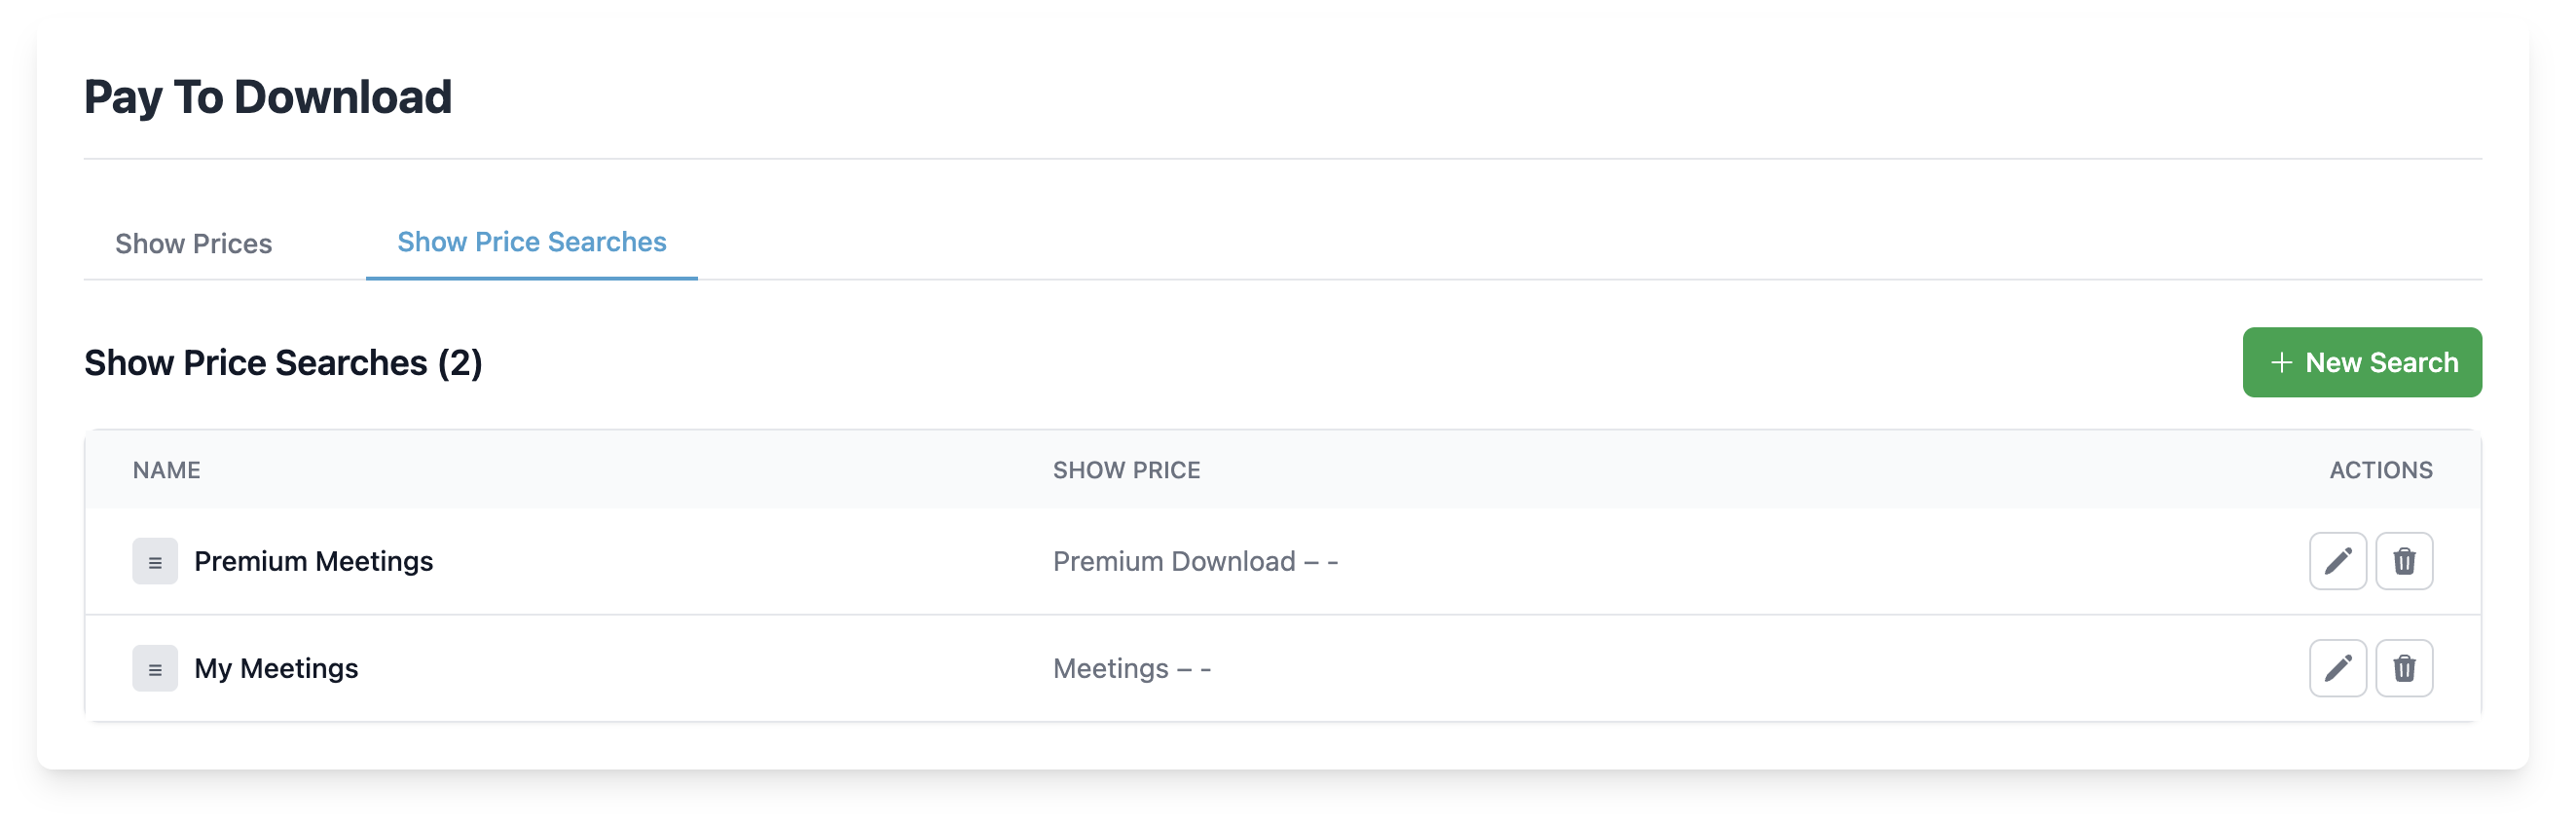
Show Price Searches Table
Each row represents one purchasable collection.
- Name — Internal label for the mapping (e.g., “Premium Meetings”).
- Show Price — The Show Price that will be charged for items found by the saved search.
- Actions — Edit or delete the mapping.
- Reorder Handle — Drag to change display order.
Controls:
- New Search — Create a new mapping.
Create Show Price Search
Click New Search.

Fill in:
- Name — Descriptive name for this mapping.
- Saved Search — Choose an existing saved show search that returns the shows you want to sell for download.
- Show Price — Select the Show Price (configured above) that applies to those shows.
Click Create Search to save.
Edit or Delete a Search
- Edit — Change the name, saved search, or associated price.
- Delete — Removes the mapping; shows will no longer be offered at that price.
How It Works Together
- Create Show Prices — Link your Stripe price_… IDs (Test and Live) to readable names.
- Create Show Price Searches — For each purchasable collection, choose a saved search and assign a Show Price.
- Publish — When your Stripe Live IDs are in place and your website is configured for Pay to Download, viewers will be prompted to purchase before downloading content that matches those searches.
Notes & Best Practices
- Test vs Live — Verify everything end-to-end using your Test Price ID. Add the Live Price ID when you’re ready to accept real payments.
- Saved Searches — Keep searches specific to avoid accidentally pricing unintended shows.
- Deletion Safety — Remove or update dependent Show Price Searches before deleting a Show Price that’s in use.